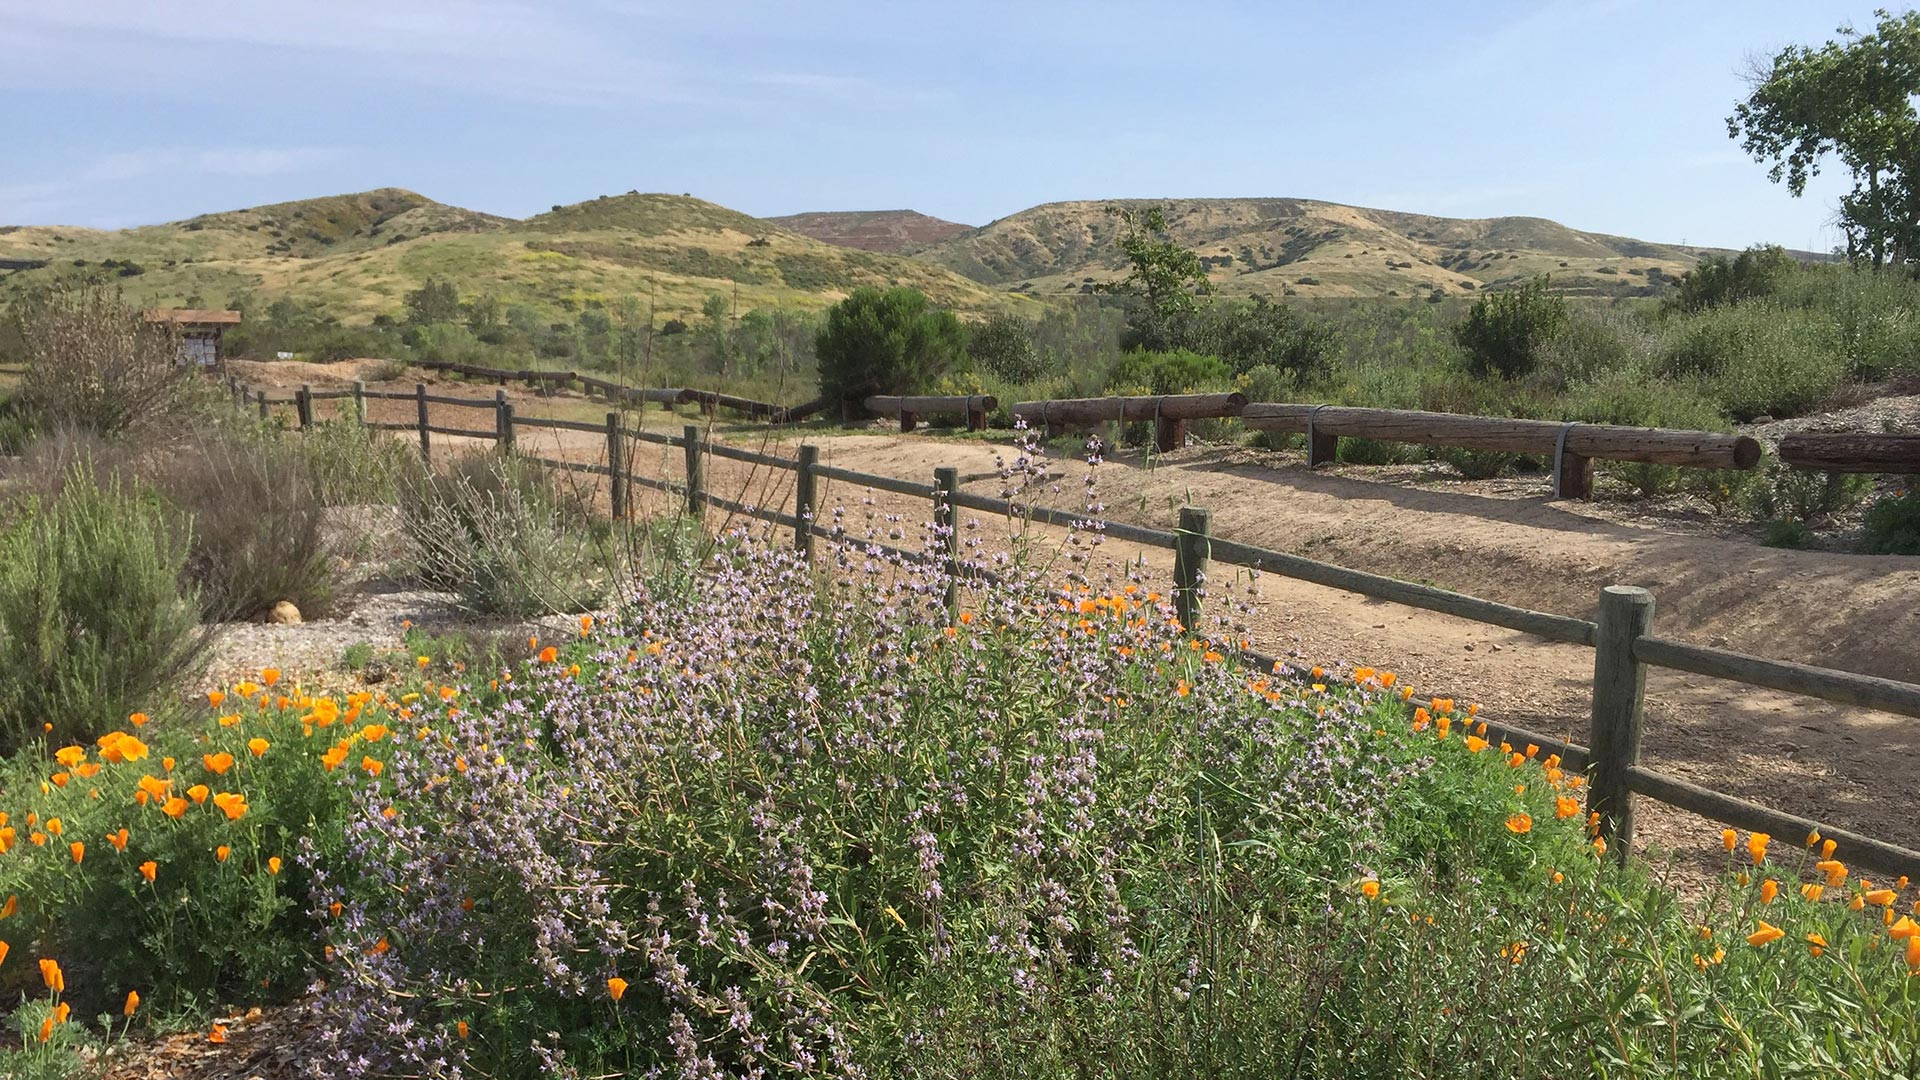
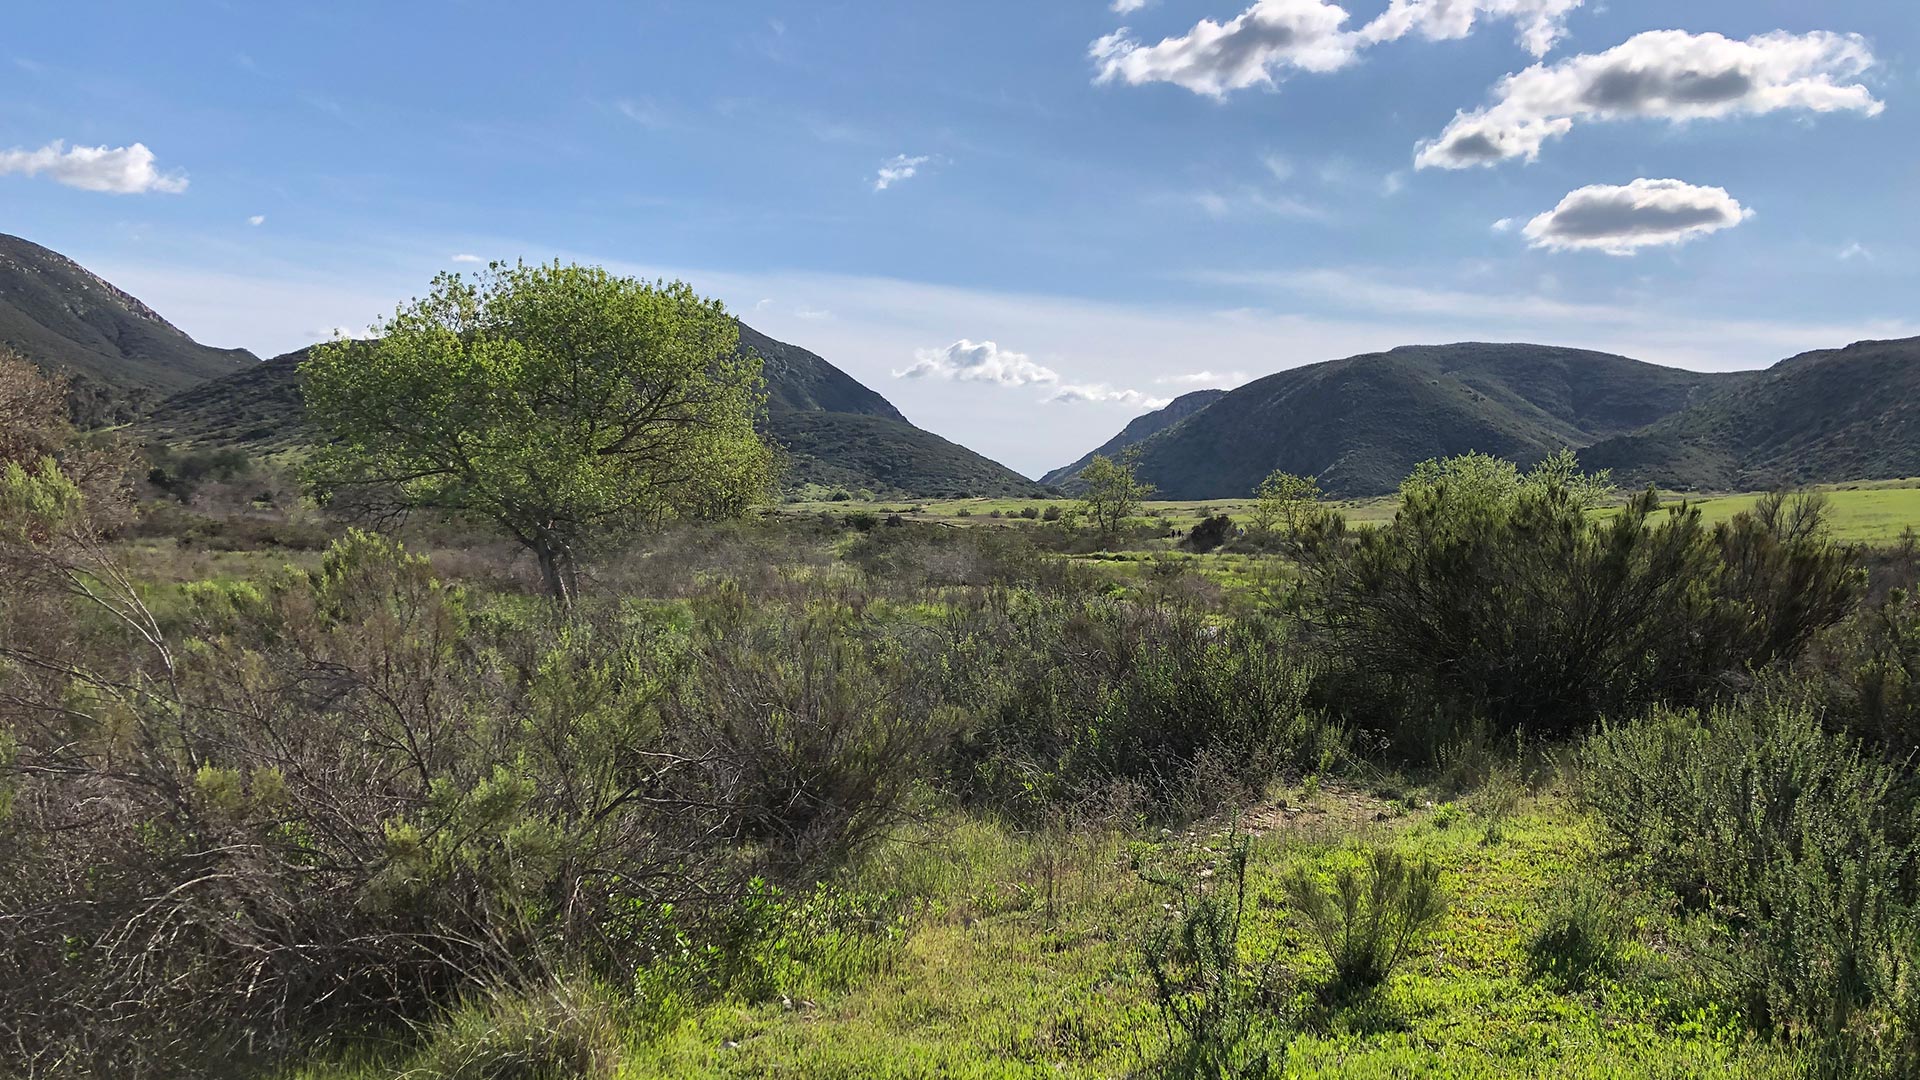
Everyone is connecting on Zoom these days, so we’ve created a way to virtually put yourself into one of your favorite places—Mission Trails Regional Park! Instructions on how to use the backgrounds are below.
All photos by Jayna McLeod.

Instructions on use of Zoom backgrounds
- Download your favorite background to your computer
- Sign in to your Zoom account
- Click on the settings button (in the upper right-hand corner on the desktop application)
- Select “Virtual Background”
- Click the + sign and select “Add Image” to choose your Virtual Background by navigating to the saved image on your computer. (The + sign can be found below your image, on the right-hand side of the page.)
- To select the background, simply click on the background of your choice from the selections provided
To change your background while on Zoom
Select the up arrow by the video symbol (on the bottom left hand side of the window and select “Choose Virtual Background” and select your new background picture.
Instructions on use of Zoom backgrounds on an iPhone
- Download your favorite backgrounds to your camera roll
- Sign in to your Zoom account
- From within a call, select “More …” on the task bar at the bottom of your screen
- Select “Virtual Background”
- Click the + sign and select your favorite background image from your camera roll
- To use the selected background as your background for all meetings, select the “Settings” option on the task bar at the bottom of your screen (when not on a call)
- Select “Meetings”
- Scroll to the bottom of the screen and find the “Keep Virtual Background For” setting. You may choose “all meetings” or “current meeting only”.